If you’re interested in learning embroidery, you’ve come to the right place! This basic embroidery stitches tutorial for beginners will walk you through the most common stitches used in embroidery. By the end of this tutorial, you’ll be able to start stitching like a pro!
The first stitch we’ll cover is the running stitch. The running stitch is a basic, versatile stitch that can be used for a variety of purposes. To make a running stitch, simply bring your needle up through the fabric, then back down a short distance away. Continue this process, making sure to keep your stitches even in length.
Check out this tutorial on YouTube for Running Stitch
The next stitch we’ll cover is the chain stitch. The chain stitch is similar to the running stitch, but instead of passing the needle through the fabric, you’ll pass it through the loop of thread created by the previous stitch. This creates a chain-like effect that can be used to create decorative borders or patterns.
Check out this tutorial on YouTube for Chain Stitch
The third stitch we’ll cover is the satin stitch. The satin stitch is a smooth, continuous stitch that’s perfect for filling in small spaces. To make a satin stitch, bring your needle up through the fabric and down again in the same spot. Then, without pulling the thread all the way through, bring the needle up through the fabric again, slightly offset from the first stitch. Continue this process, making sure to keep your stitches close together.
Check out this tutorial on YouTube for Satin Stitch
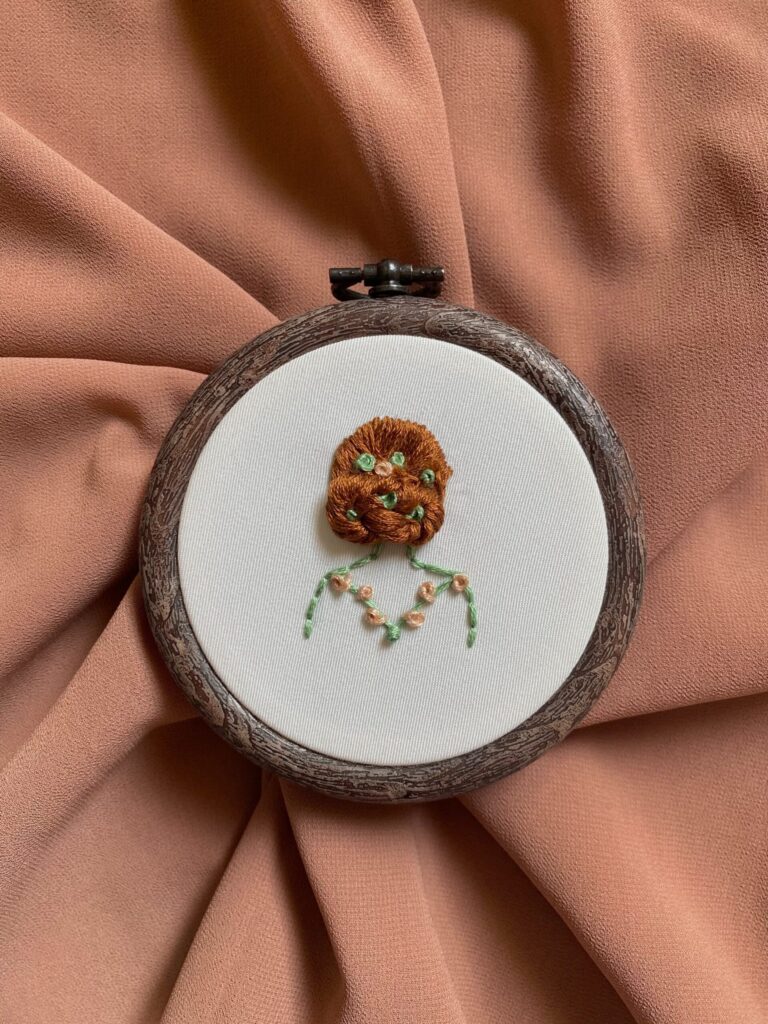
The fourth stitch we’ll cover is the French knot. The French knot is a small, tight knot that’s often used to add texture or dimension to a design. To make a French knot, start by bringing your needle up through the fabric. Then, holding the thread with your thumb and index finger, wrap the thread around the needle two or three times. Finally, insert the needle back into the fabric, just below where it first emerged. Pull the needle and thread all the way through, and voila! You’ve made a French knot.
Check out this tutorial on YouTube for French Knot
The fifth and final stitch we’ll cover is the stem stitch. The stem stitch is a continuous stitch that’s often used to outline a design. To make a stem stitch, bring your needle up through the fabric and down again a short distance away. Then, without pulling the thread all the way through, bring the needle up through the fabric again, slightly offset from the first stitch. Continue this process, making sure to keep your stitches close together.
Check out this tutorial on YouTube for Stem stitch
Now that you know the basic embroidery stitches tutorial for beginners, it’s time to get stitching! These five stitches are just a starting point–there are endless possibilities for creativity and experimentation. So, grab some fabric and thread, and let your imagination run wild.
Hello and goodbye! Thank you so much for visiting Hello We Sew. We hope you had a great time browsing our website and found everything you were looking for. If not, please feel free to contact us and let us know how we can improve. We love hearing from our visitors and are always looking for ways to improve our website. So, thank you again for stopping by and we hope to see you soon!
Hey, check out 20 Embroidery Stitches You Should Know!