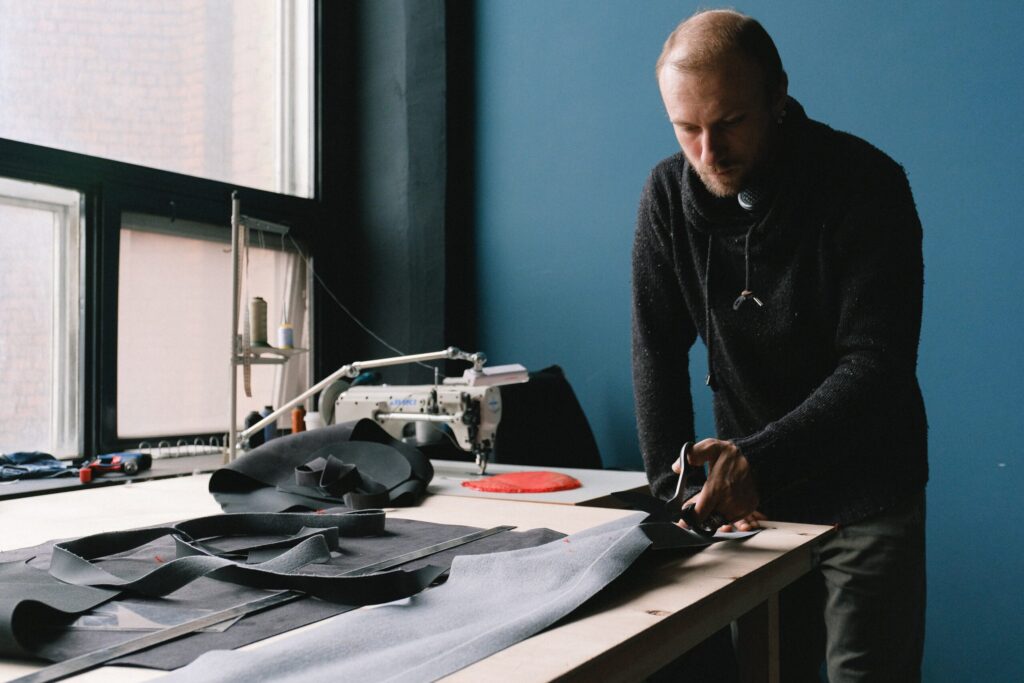
This machine is a mini laser engraving machine with high precision, and small volume, and is easy to carry. Suitable for home and office, suitable for small businesses. Suitable for artwork, paper crafts, leather, fabric, plastic, and other materials cutting.
laser cutting machine embroidery applique
Specifications:
Model NO.: XY-280-400
Laser Power: 40W
Working Area: 280*400mm
Laser Type: CO2
Working Table: Blade Table
Engraving Speed: 0-600mm/s
Cutting Speed: 0-400mm/s
Unknown Command: Ignores
Cooling Type: Water Cooling
Control Software: Laser GRBL Control System
Support Graphic Format: DST, PLT, BMP, DXF, AI, CDR
Working Temperature: 0-45℃
Working Voltage: AC 110-220V+/-10%, 50-60Hz
Standard Accessories: Please Check with the laser cutting machine embroidery applique manufacturer for the specific items included. This is what I could research.
1 x 40W Laser Engraving Machine
1 x USB Cable
1 x Software CD
1 x Air Pump
1 x Water Pipe
1 x Water Pump
1 x Water Tank
1 x Mirrors
1 x Lens
1 x English Manual
Note:
- Due to the different monitor and light effects, the actual color of the item might be slightly different from the color shown on the pictures.
- Please allow a slight measuring deviation due to manual measurement.
- For laser cutting machine embroidery applique
- Connect the power supply to the laser engraving machine.
- Connect the USB port of the laser engraving machine to the computer.
- Turn on the air pump.
- Turn on the water pump and turn the knob to the highest position.
- For laser cutting machine embroidery applique
Cutting
- The cutting is done on a separate layer, so you need to create a new layer and draw a line around the object you want to cut out.
- Set the color of the object line you want to cut to red.
- Click “Cut” in the “Work” tab.
- For laser cutting machine embroidery applique
Note: You can only cut the red line.
Engraving
- Engraving is done on the same layer as the drawing, so you need to create a new layer with the drawing.
- Set the color of the object you want to engrave to black.
- Click “Engraving” in the “Work” tab.
- For laser cutting machine embroidery applique
Note: You can only engrave the black line.
How to Change the Laser Power?
- Click “Set Power” in the “Work” tab.
- Adjust the value of “Power”.
- The default value of Power is set to 100%. If you need to change the value of Power, click the “Apply” button.
- You can also change the value of Power by scrolling the mouse wheel.
- For laser cutting machine embroidery applique
How to Change the Laser Speed?
- Click “Set Speed” in the “Work” tab.
- Adjust the value of “Speed”.
- The default value of Speed is set to 100%. If you need to change the value of Speed, click the “Apply” button.
- You can also change the value of Speed by scrolling the mouse wheel.
- For laser cutting machine embroidery applique
How to Change the Laser Focus?
- Click “Set Focus” in the “Work” tab.
- Adjust the value of “Focus”.
- The default value of Focus is set to 100%. If you need to change the value of Focus, click the “Apply” button.
- You can also change the value of Focus by scrolling the mouse wheel.
- For laser cutting machine embroidery applique
How to Change the Laser Density?
- Click “Set Density” in the “Work” tab.
- Adjust the value of “Density”.
- The default value of Density is set to 100%. If you need to change the value of Density, click the “Apply” button.
- You can also change the value of Density by scrolling the mouse wheel.
- For laser cutting machine embroidery applique
How to Change the Laser Zoom?
- Click “Set Zoom” in the “Work” tab.
- Adjust the value of “Zoom”.
- The default value of Zoom is set to 100%. If you need to change the value of Zoom, click the “Apply” button.
- You can also change the value of Zoom by scrolling the mouse wheel.
- For laser cutting machine embroidery applique
How to Change the Scanning Mode?
- Click “Set Scanning Mode” in the “Work” tab.
- Adjust the value of “Scanning Mode”.
- The default value of Scanning Mode is set to 100%. If you need to change the value of Scanning Mode, click the “Apply” button.
- You can also change the value of Scanning Mode by scrolling the mouse wheel.
- For laser cutting machine embroidery applique
How to Change the Line Color?
- Click “Set Line Color” in the “Work” tab.
- Adjust the value of “Line Color”.
- The default value of Line Color is set to 100%. If you need to change the value of Line Color, click the “Apply” button.
- You can also change the value of Line Color by scrolling the mouse wheel.
- For laser cutting machine embroidery applique
How to Change the Background Color?
- Click “Set Background Color” in the “Work” tab.
- Adjust the value of “Background Color”.
- The default value of Background Color is set to 100%. If you need to change the value of Background Color, click the “Apply” button.
- You can also change the value of Background Color by scrolling the mouse wheel.
- For laser cutting machine embroidery applique
How to Change the Line Weight?
- Click “Set Line Weight” in the “Work” tab.
- Adjust the value of “Line Weight”
- The default value of Line Weight is set to 100%. If you need to change the value of Line Weight, click the “Apply” button.
- You can also change the value of Line Weight by scrolling the mouse wheel.
- For laser cutting machine embroidery applique
How to Change the Line Spacing?
- Click “Set Line Spacing” in the “Work” tab.
- Adjust the value of “Line Spacing”.
- The default value of Line Spacing is set to 100%. If you need to change the value of Line Spacing, click the “Apply” button.
- You can also change the value of Line Spacing by scrolling the mouse wheel.
- For laser cutting machine embroidery applique
How to Change the Font Size?
- Click “Set Font Size” in the “Work” tab.
- Adjust the value of “Font Size”.
- The default value of Font Size is set to 100%. If you need to change the value of Font Size, click the “Apply” button.
- You can also change the value of Font Size by scrolling the mouse wheel.
- For laser cutting machine embroidery applique
How to Change the Font Style?
- Click “Set Font Style” in the “Work” tab.
- Adjust the value of “Font Style”.
- The default value of Font Style is set to 100%. If you need to change the value of Font Style, click the “Apply” button.
- You can also change the value of Font Style by scrolling the mouse wheel.
- For laser cutting machine embroidery applique
How to Change the Image Size?
- Click “Set Image Size” in the “Work” tab.
- Adjust the value of “Image Size”.
- The default value of Image Size is set to 100%. If you need to change the value of Image Size, click the “Apply” button.
- You can also change the value of Image Size by scrolling the mouse wheel.
How to Change the Image Rotation?
- Click “Set Image Rotation” in the “Work” tab.
- Adjust the value of “Image Rotation”.
- The default value of Image Rotation is set to 100%. If you need to change the value of Image Rotation, click the “Apply” button.
- You can also change the value of Image Rotation by scrolling the mouse wheel.
How to Change the Image Inversion?
- Click “Set Image Inversion” in the “Work” tab.
- Adjust the value of “Image Inversion”.
- The default value of Image Inversion is set to 100%. If you need to change the value of Image Inversion, click the “Apply” button.
- You can also change the value of Image Inversion by scrolling the mouse wheel.
How to Change the Origin Point?
- Click “Set Origin Point” in the “Work” tab.
- Adjust the value of “Origin Point”.
- The default value of Origin Point is set to 100%. If you need to change the value of Origin Point, click the “Apply” button.
- You can also change the value of Origin Point by scrolling the mouse wheel.
How to Change the Line Type?
- Click “Set Line Type” in the “Work” tab.
- Adjust the value of “Line Type”.
- The default value of Line Type is set to 100%. If you need to change the value of Line Type, click the “Apply” button.
- You can also change the value of Line Type by scrolling the mouse wheel.
Hey, check out The Best Embroidery Software for Mac Computers and iPads (2020)