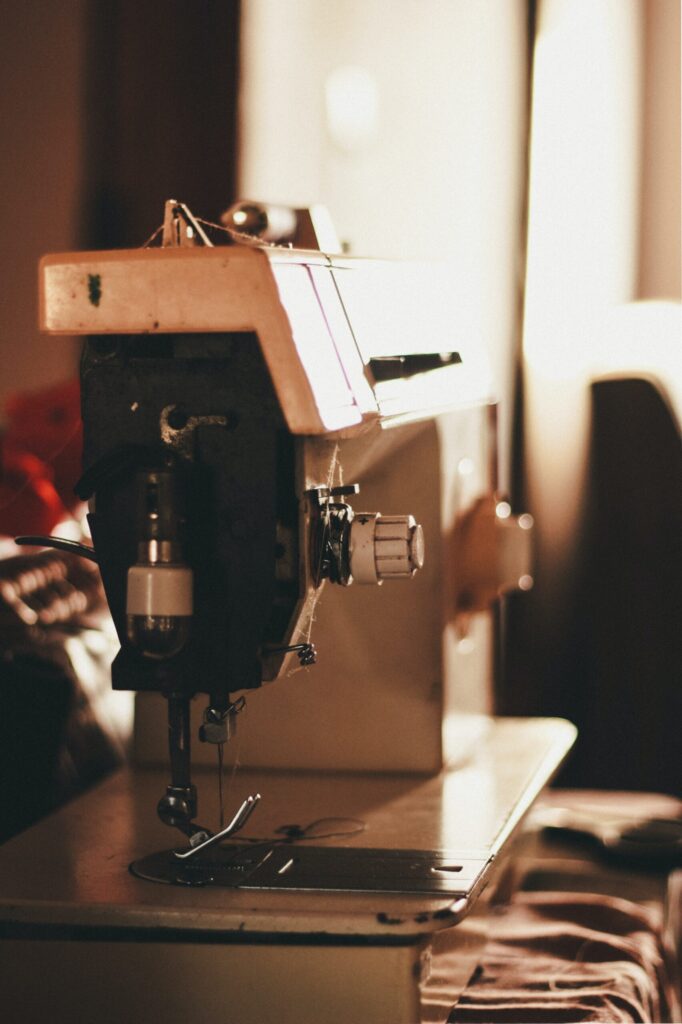
In this article, we will cover machine embroidery tutorial for beginners. Machine embroidery is a process of decorating fabric with an embroidery machine. It is a popular technique used in both home and commercial sewing. Embroidery machines come in a variety of sizes and styles, from small, portable machines to large, industrial machines. There are also a variety of embroidery software programs available to create custom designs.
Embroidery machines use a needle and thread to sew designs into fabric. The needle punctures the fabric and the thread is fed through the needle. The machine then moves the needle up and down to create stitches. The design is created by following a stitching path that is programmed into the machine.
Embroidery machines can sew a variety of stitch types, including straight stitches, zigzag stitches, and satin stitches. They can also sew a variety of decorative stitches, such as French knots and chain stitches.
Embroidery machines can be used to embroider a variety of items, including clothing, linens, and home decor items. Embroidered items make great gifts and can be sold commercially.
There are a few things to keep in mind when embroidering, such as the type of fabric you are using and the type of thread. It is important to use the correct type of needle and thread for the fabric you are working with to avoid damage to the fabric. It is also important to use a stabilizer when embroidering to keep the fabric from stretching or distorting.
The following is a basic machine embroidery tutorial for beginners. This tutorial will show you how to set up your machine and embroider a simple design.
Choose a design.
There are a variety of machine embroidery designs available online and in embroidery software programs. Choose a design that is simple and easy to follow.
2. Choose the correct type of thread and needle.
The type of thread and needle you use will depend on the type of fabric you are embroidering. Consult your machine’s manual for recommendations.
3. Load the design into your machine.
Most machines will have a USB port that you can use to load the design. Consult your machine’s manual for specific instructions.
4. Hoop the fabric.
Hooping is the process of securing the fabric in the embroidery hoop. This will keep the fabric from moving during the embroidery process. Consult your machine’s manual for specific instructions.
Check out this tutorial on YouTube for machine embroidery tutorial for beginners
Embroider the design.
Once the fabric is hooped, the machine will embroider the design. Follow the prompts on the machine’s display to start and stop the embroidery process.
Remove the fabric from the hoop.
Once the embroidery is complete, remove the fabric from the hoop.
Cut away the stabilizer.
Cut away the stabilizer from the back of the fabric.
Check out this tutorial on YouTube for machine embroidery tutorial for beginners
Finish the project.
Finish the project by trimming the threads and adding any desired embellishments.
Hello and goodbye! Thank you so much for visiting Hello We Sew. We hope you had a great time browsing our website and found everything you were looking for. If not, please feel free to contact us and let us know how we can improve. We love hearing from our visitors and are always looking for ways to improve our website. So, thank you again for stopping by and we hope to see you soon!
Hey, check out 20 Embroidery Stitches You Should Know!